Lentiq is a new data science platform that was specifically designed to work in multiple cloud environments. The deploy sequence is fast and easy regardless of the user's cloud provider. In order to better illustrate this, we made a quick 5-minute tutorial using Amazon Web Services account and set up a data pool on it. See below the detailed how-to article.
In order to use Lentiq, you need an active Amazon Web Services account. You can quickly create an account if you don’t already have one. A valid bank card is required during the registration process, but you will only be billed for the resources that you actually use.
1. Account Prerequisites
After you have logged in into your AWS account, start by creating a new user with programmatic access that will allow Lentiq to provision all services needed for Lentiq into your AWS account.
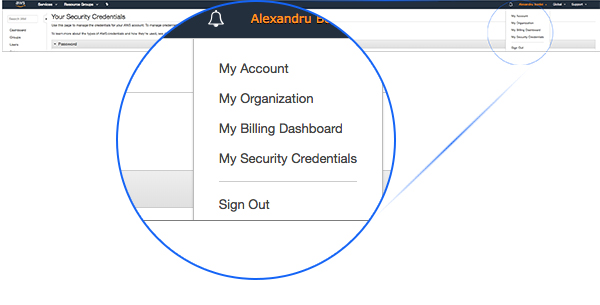
1. Go to the User Administration menu and click on ‘My Security Credentials’
2. Navigate to ‘Users’ from the left-hand side menu and click ‘Add user’.
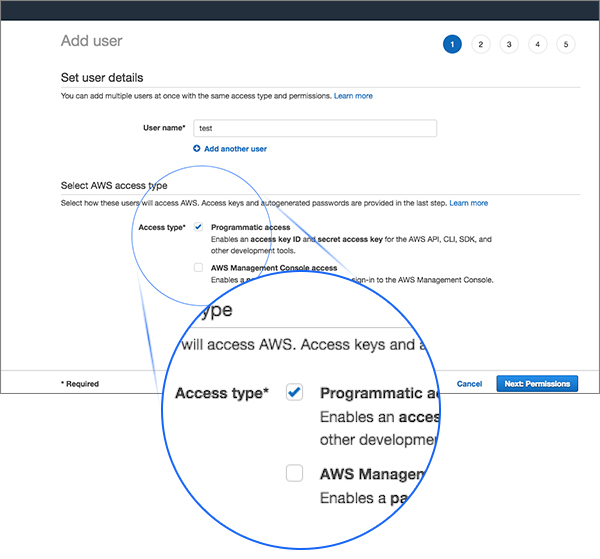
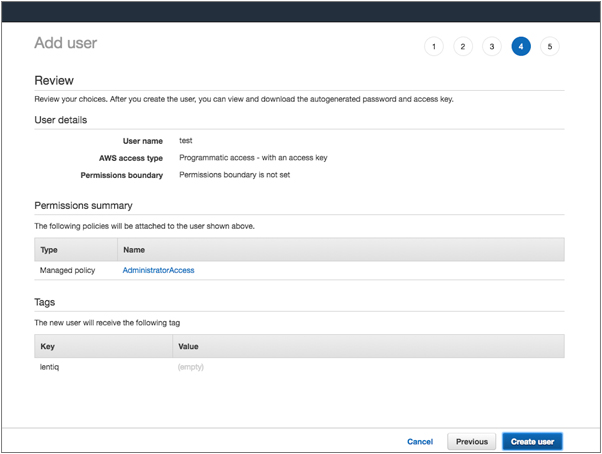
3. Complete the AWS add user wizard and make sure you enable Programmatic access:
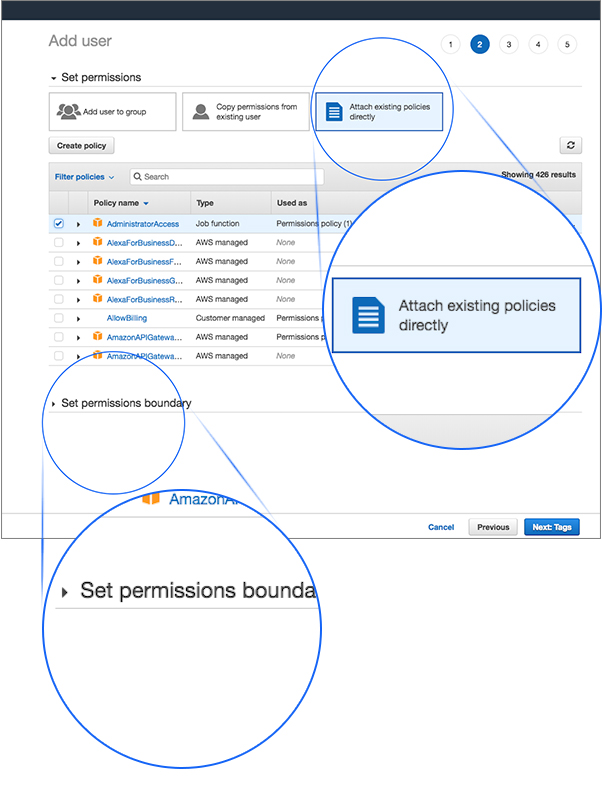
4. Set permissions for the newly created user and attach existing policies directly that allow AdministratorAccess.
These permissions are needed becauseLentiq provisions a Kubernetes Cluster for each of your data pools and an object storage bucket for each of your projects behind the scenes. These are fully managed and configured by the application. We recommend users accessing these resources from the Lentiq Management interface only.
5. Create user and make sure you save the Access Key ID and Secret access key for this particular user. Download the csv for future use.
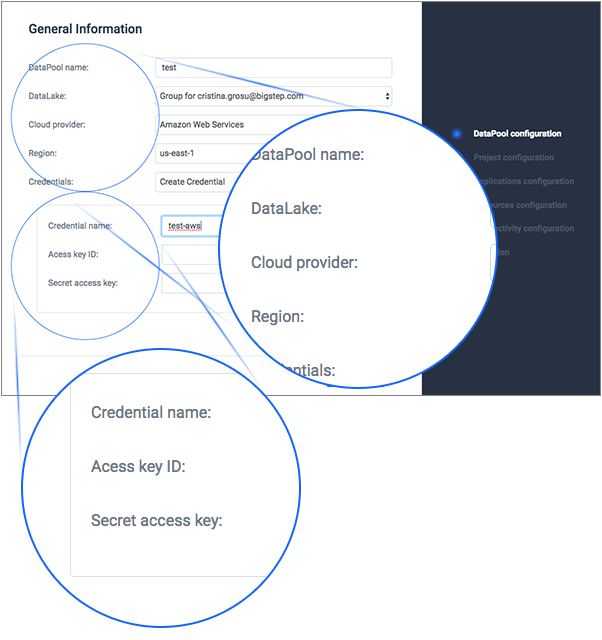
2. Link Lentiq to your AWS account
In order to create a Lentiq data pool, select Amazon Web Services as the Cloud Provider, choose a region for the server, enter the Access Key ID and the Secret access key.
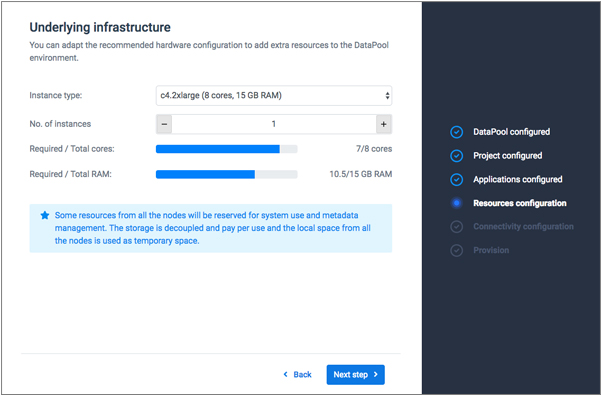
In the next steps, you will configure the initial Spark cluster and choose the underlying hardware infrastructure.
While a c4.2xlarge machine provides enough resources to deploy Lentiq, the initial Spark cluster and internal processes use 6 CPU cores, so you should provision a larger server if you plan to use additional applications. However, keep in mind that the underlying server remains active and you are billed for it even if no Lentiq applications are running until you delete the data pool, so don’t deploy unnecessary resources that will generate higher costs.
3. Deploy your first Lentiq Data Pool
Setup firewall rules to allow connectivity from your IP addresses, then click on Provision now. After a few minutes, the deploy process is complete.