Creating a data pool
Lentiq acts as a management layer on top of the cloud providers you choose to use for your data lake. If you haven't set up your cloud services provider account already, check out the Deploying Lentiq on GCP or Deploying Lentiq on AWS guides for additional information on the prerequisite steps that have to be taken before starting your first Lentiq data pool.
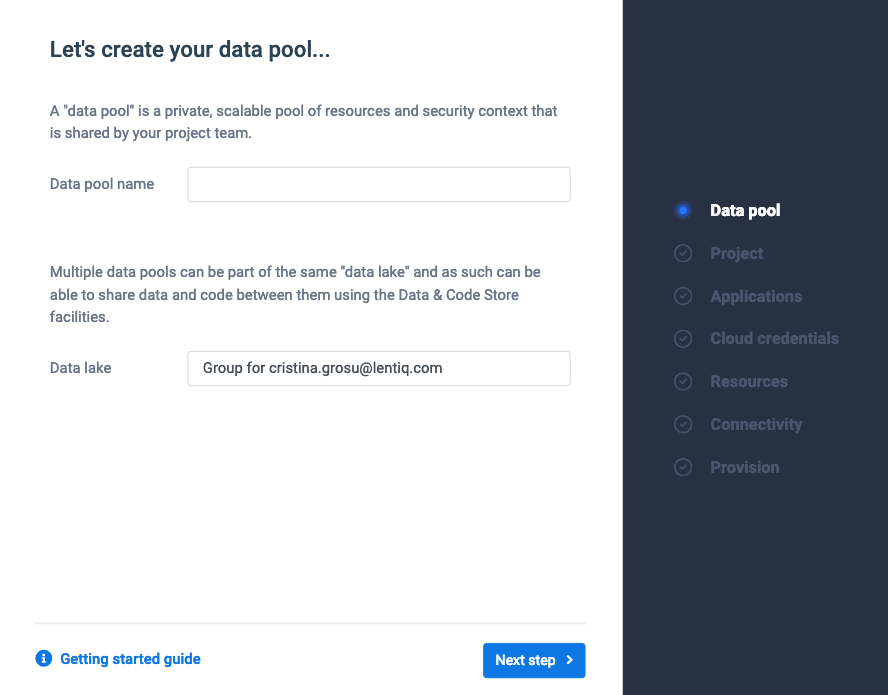
Creating a data pool
A data pool is part of a data lake and consists of a Kubernetes cluster that can host one or more projects.
The first data pool and project are easily created using our wizard:
- Type in a name for your data pool.
- Select the data lake that the data pool will be created on from the dropdown menu.
- Click Next step.
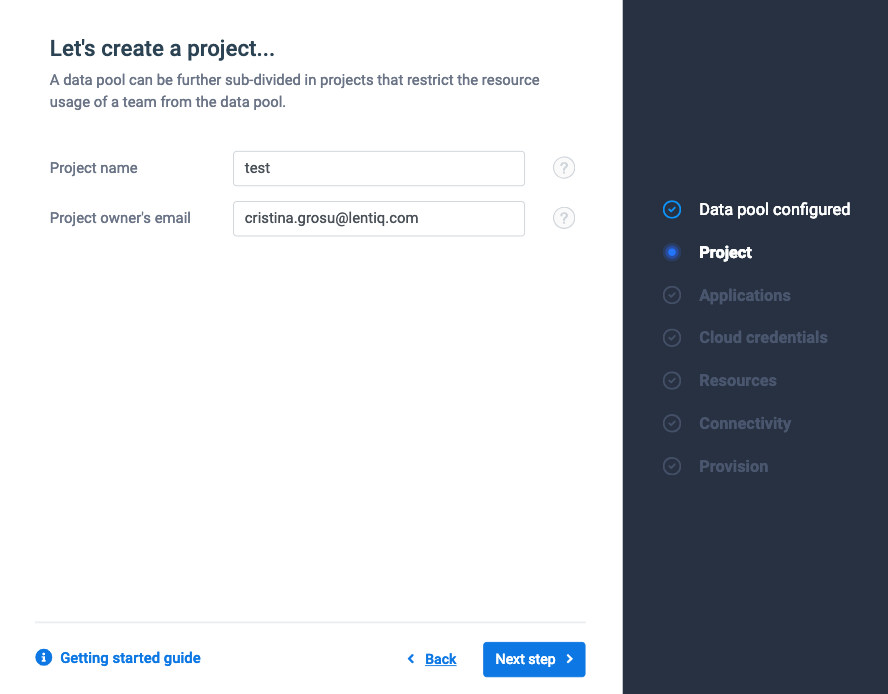
Configuring your project
- Type in a relevant name for the project
- Modify the project owner email address if you are creating the project on behalf of someone else.
- Click Next step.
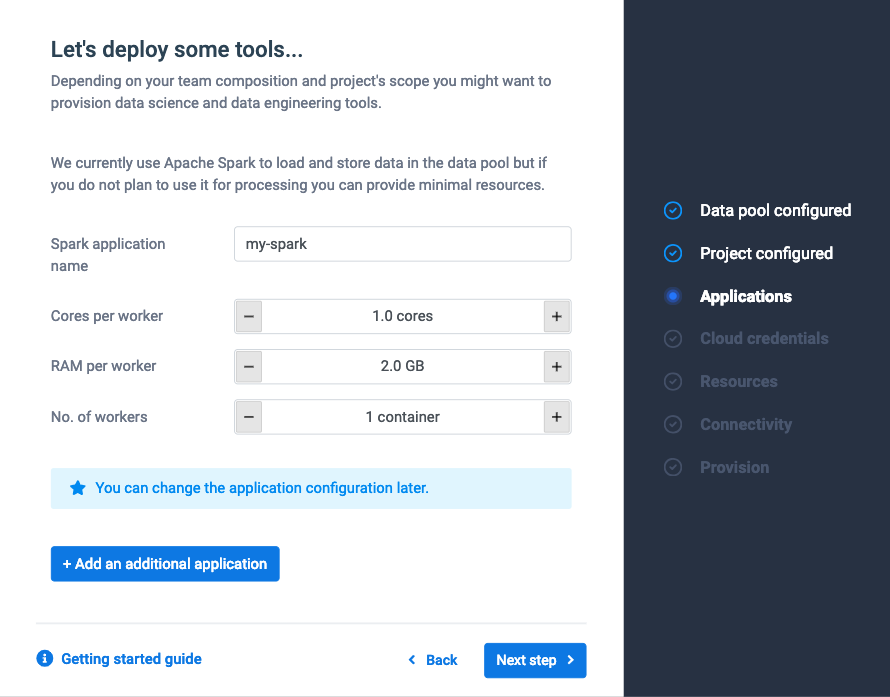
Configuring the project applications
Multiple application clusters can be set up from the get go. The default application running on each data pool is a Spark cluster.
- Type in a relevant name for the application.
- Configure the number of workers that will be created for the application and the number of cores and amount of RAM used by each worker.
Some clusters use multiple applications that can be configured independently.
- Click Next step.
Configuring your cloud provider credentials
We are currently supporting Amazon Web Services and Google Cloud Platform.
- Select your cloud provider from the dropdown menu.
- Select the zone where the cloud resources will be provisioned.
- Select the cloud provider's credentials that will be used by projects created on the data pool.
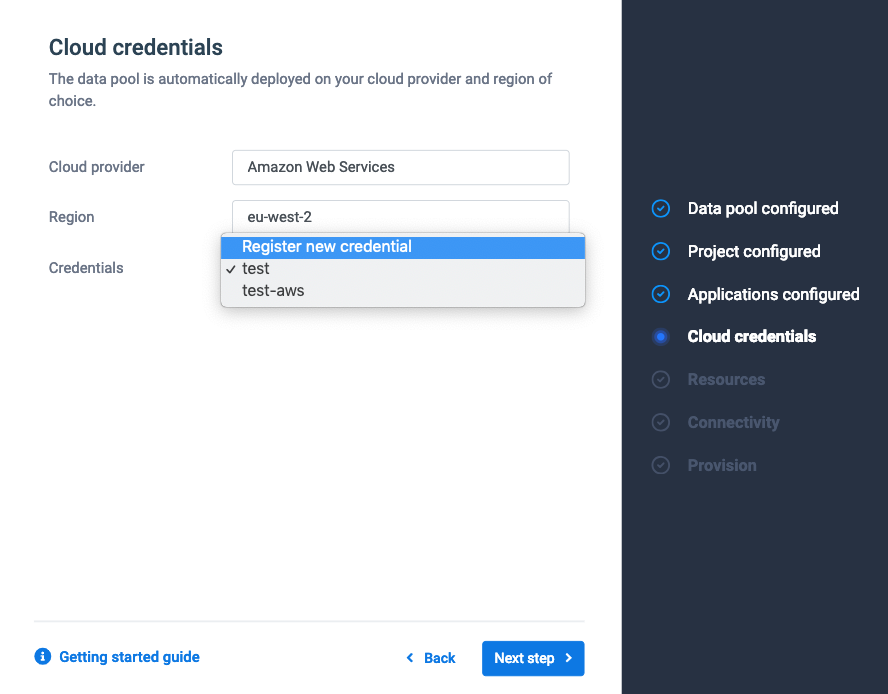
If you don't already have credentials set up then click Create credential.
- Type in a name for the credentials to serve as identifier for further use.
- Paste in the access key ID from your cloud account.
- Paste in the entire secret access key from your cloud account.
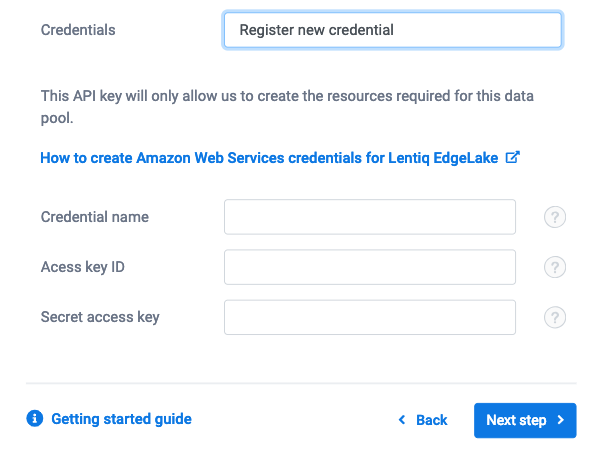
If you don't have a secret access key set up you can create a new one from the cloud services provider dashboard.
- Click Next step.
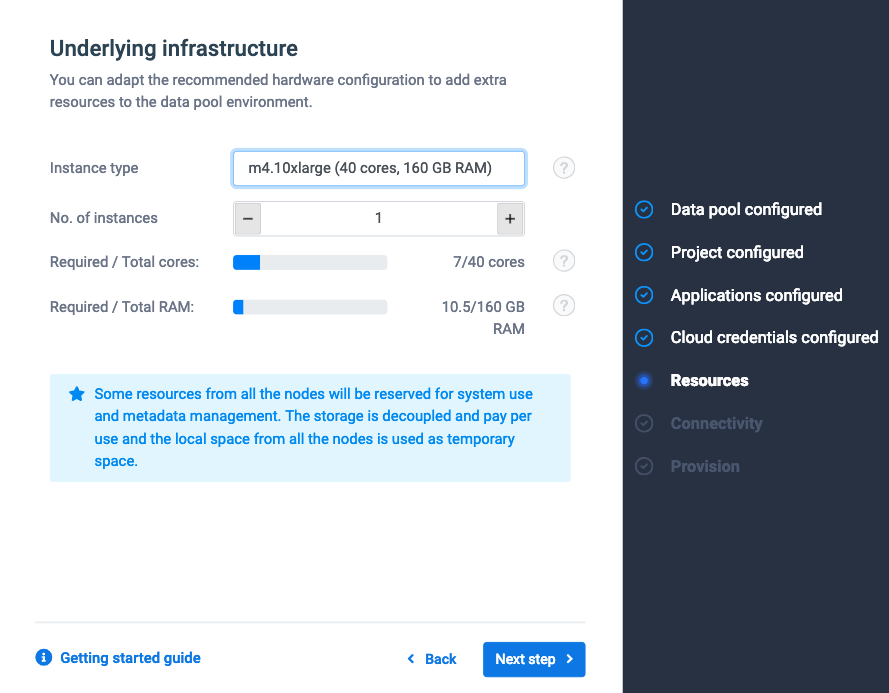
Configuring the hardware resources
The amount of resources required by the project varies depending on the application configuration.
- Select the type of instance to be used by the underlying infrastructure.
If your desired instance type is not available and you do not want to select another type, wait for a few minutes and try again.
- Increase the number of instances until the required amount of hardware resources is met.
- Click Next step.
Configuring project connectivity
Add specific firewall rules for all the IP addresses (or ranges) that will need to connect to the data pool.
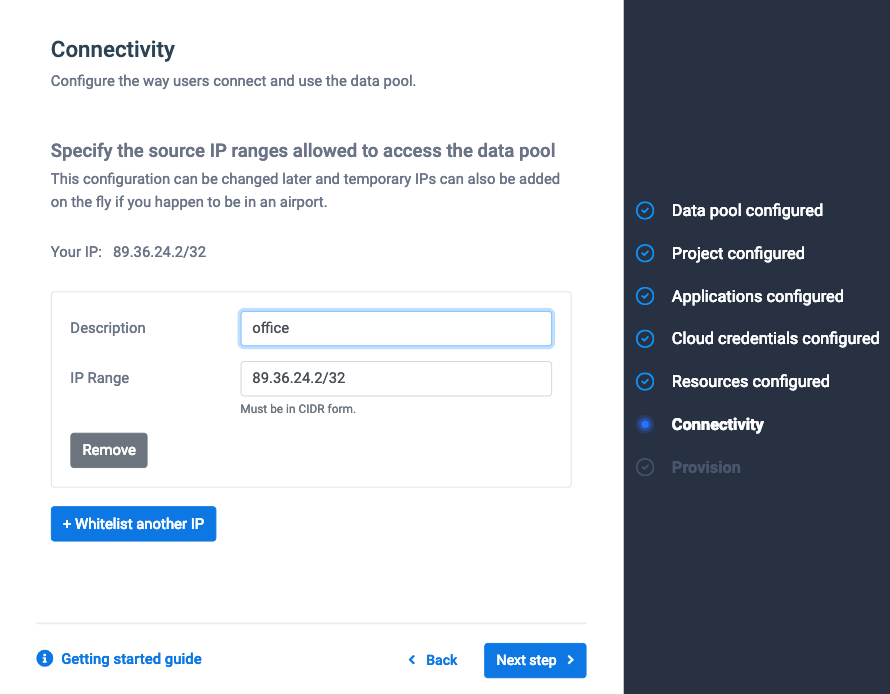
Click Next step.
Provisioning the data pool
Once you are done with all the configuration steps click Provision now to have the hardware deployed and all the applications installed and configured.
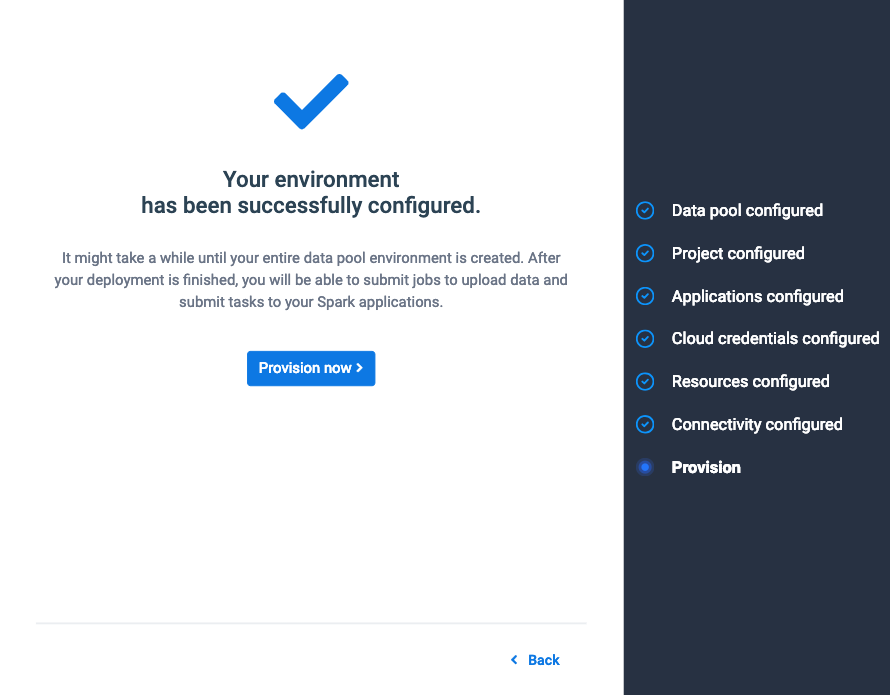
The provisioning step may take a few minutes to finish, depending on the complexity of the configuration.
Once the provisioning step is completed, you will be redirected to the project dashboard.