End-to-end Machine Learning Tutorial
End-to-end machine learning tutorial on Lentiq using SparkML, Mleap and Flask
Many machine learning tutorials usually ends up with model creation and evaluation and only a few will take a step forward and explain how to use/call the model in the application.
In this tutorial we will use the wine quality dataset available here (https://archive.ics.uci.edu/ml/machine-learning-databases/wine-quality/winequality-white.csv).
We divide this tutorial in the following steps:
- Create a simple linear regression model using SparkML
- Serialize the model using Mleap
- Create a Reusable code Block from the jupyter notebook
- Use the RCBs to create a Workflow
- Serve predictions using Lentiq Model Server
- Use the sample application created in Flask to call predictions
So let's start from the beginning.
The requirements for this tutorial are:
- basic Pyhton and SparkML understanding
- a cloud solution that offers ML development tools (I chose Lentiq running on GCP and I used the $300 worth of credit GCP is offering)
- access to deploy the sample app in Google App Engine
Let's talk about what we are using in this tutorial:
Lentiq is a collaborative data lake as a service environment that offers data and table management, notebook management, Apache Spark cluster management, and model lifetime management.
Spark ML is part of Apache Spark framework and offers a high level API for distributed machine learning on top of dataframes.
Mleap is a common ML serialization format that works with SparkML, Tensorflow and Pandas, also offering a model serving infrastructure.
Flask is a easy to use web microframework written in python for creating web apps.
We will also use Jupyter notebooks to develop our model and publish the curated notebook as a RCB (reusable code blocks) to be used in the Workflow manager, a tool that automates model training and publishing. We will cover this topics in more depth at the right time.
This being said let's get started:
1. Create a simple linear regression model using SparkML
What is ML?
It is a way of using algorithms to find patterns in your data (labeled data in our case) and learn those patterns so that you can make predictions on new data.
The steps involved in creating and deploying a model for production use are data discovery, preprocessing, model selection, model tuning and finally model serving. Our goal for this tutorial is to cover the entire model lifecycle: in real world and production systems the model will continually be updated when deprecated models will no longer make accurate predictions.
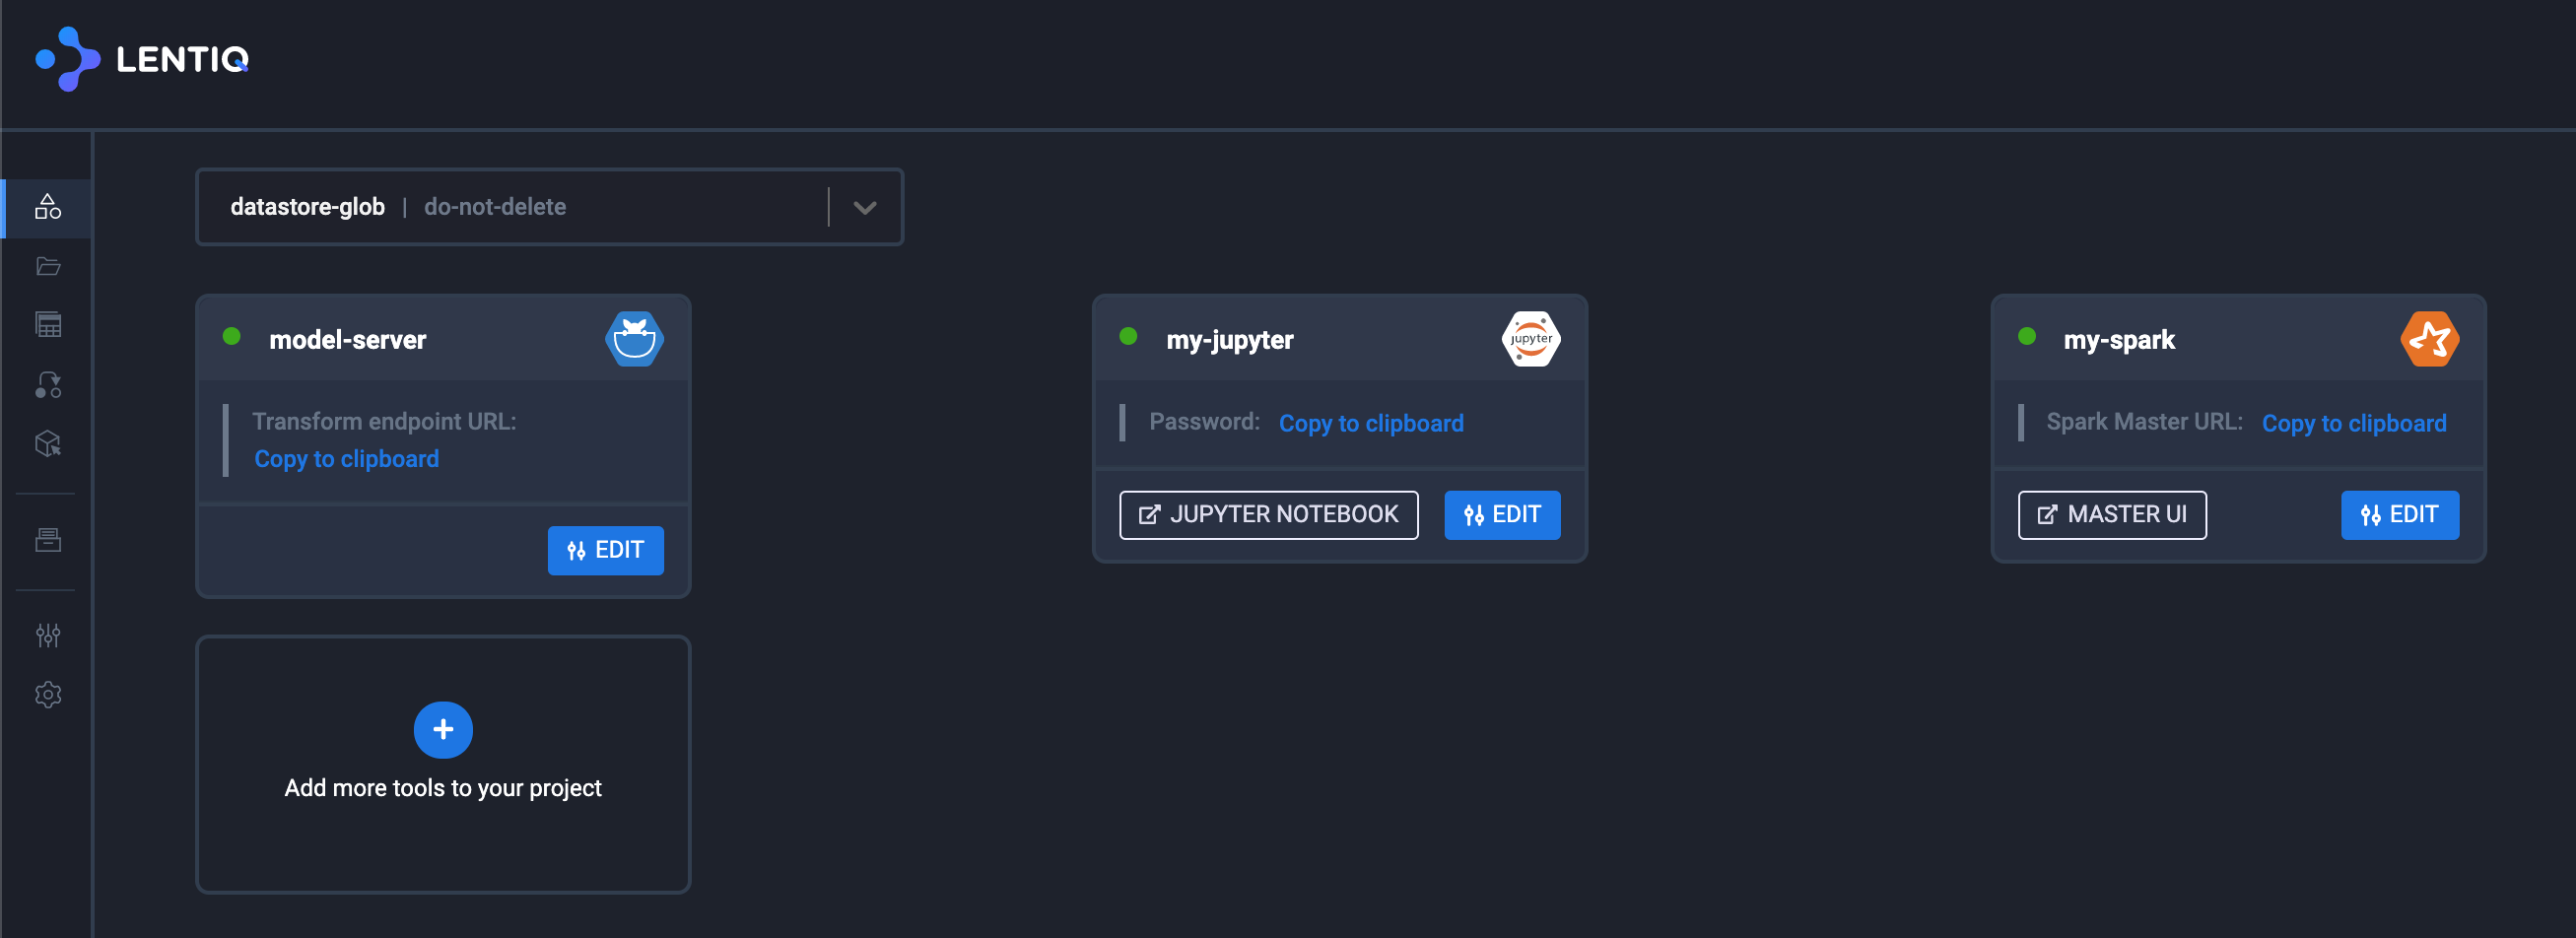
Lentiq (https://console.lentiq.com) makes our lives much easier, as it offers a Jupyter environment, a Spark cluster and a Model server all configured on top of Kubernetes provided by either GCP or AWS. We can use Jupyter notebooks to explore our dataset and create our predictive model.
The basic setup is this:
Let's explore the train_model notebook available here (https://github.com/ccpintoiu/wine-quality-prediction/blob/master/gcp_app_engine/meetup_train_model.ipynb):
First we will create a Spark Session using spark session builder:

Taking a first look at our data, we realize each wine has 11 characteristics ('fixed acidity','volatile acidity','citric acid','residual sugar','chlorides','free sulfur dioxide','total sulfur dioxide','density','pH','sulphates','alcohol'). These are our features and we will try to predict wine quality (this is our label). We will model the relation between the features and the label using a linear regression model.
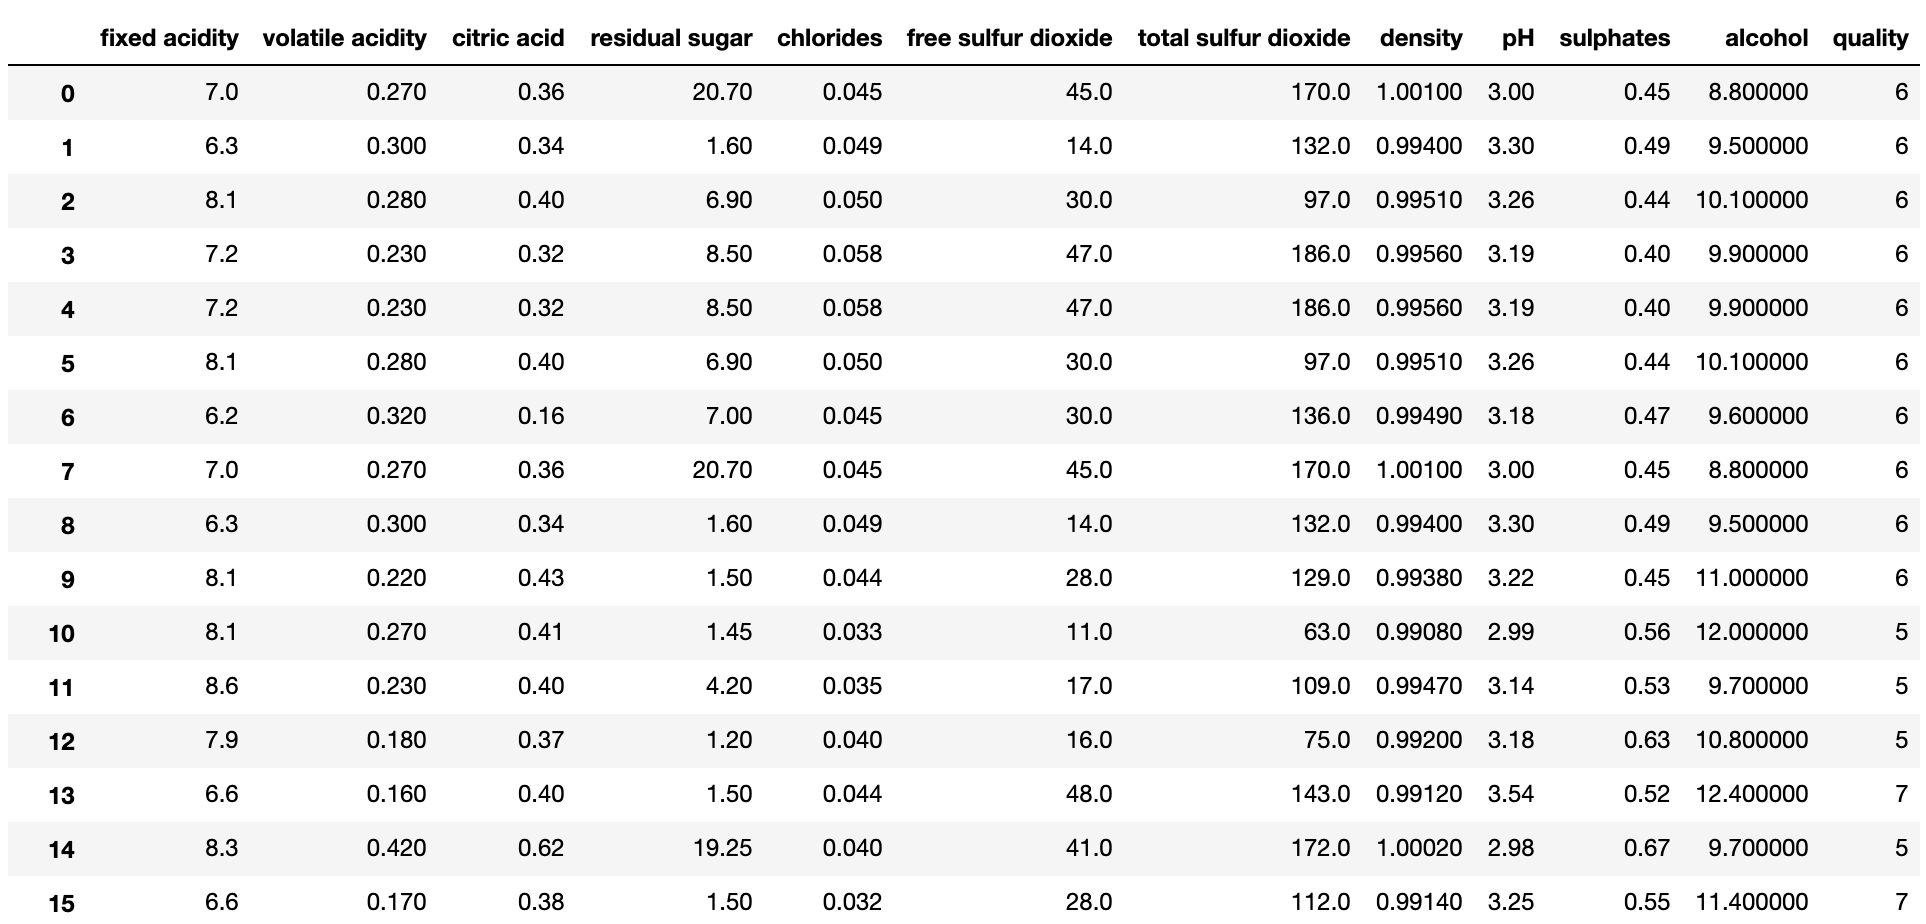
Data preprocessing is an important step in machine learning development and usually takes a lot of time. In our dataset data is already in a numerical format and ready to train a model, so we can focus on creating the machine learning pipeline.
Next we will create two stages: a vector assembler and a Linear regression to be used in our pipeline. Once we rename the columns properly, all we have to do is call train on the training dataset:

2. Serialize the model using Mleap
One last step in this notebook is the serialization of the model using Mleap serializeToBundle function. Once the model is serialized in the local file system (in the /tmp folder of our Jupyter notebook container), we have to upload it to the object storage to be picked by the model server.

A more realistic approach will include a stage where the right parameters are picked after many trials ran to ensure the model is error-free and it meets the accuracy thresholds. The final goal of this approach is to ensure consistent model predictions.
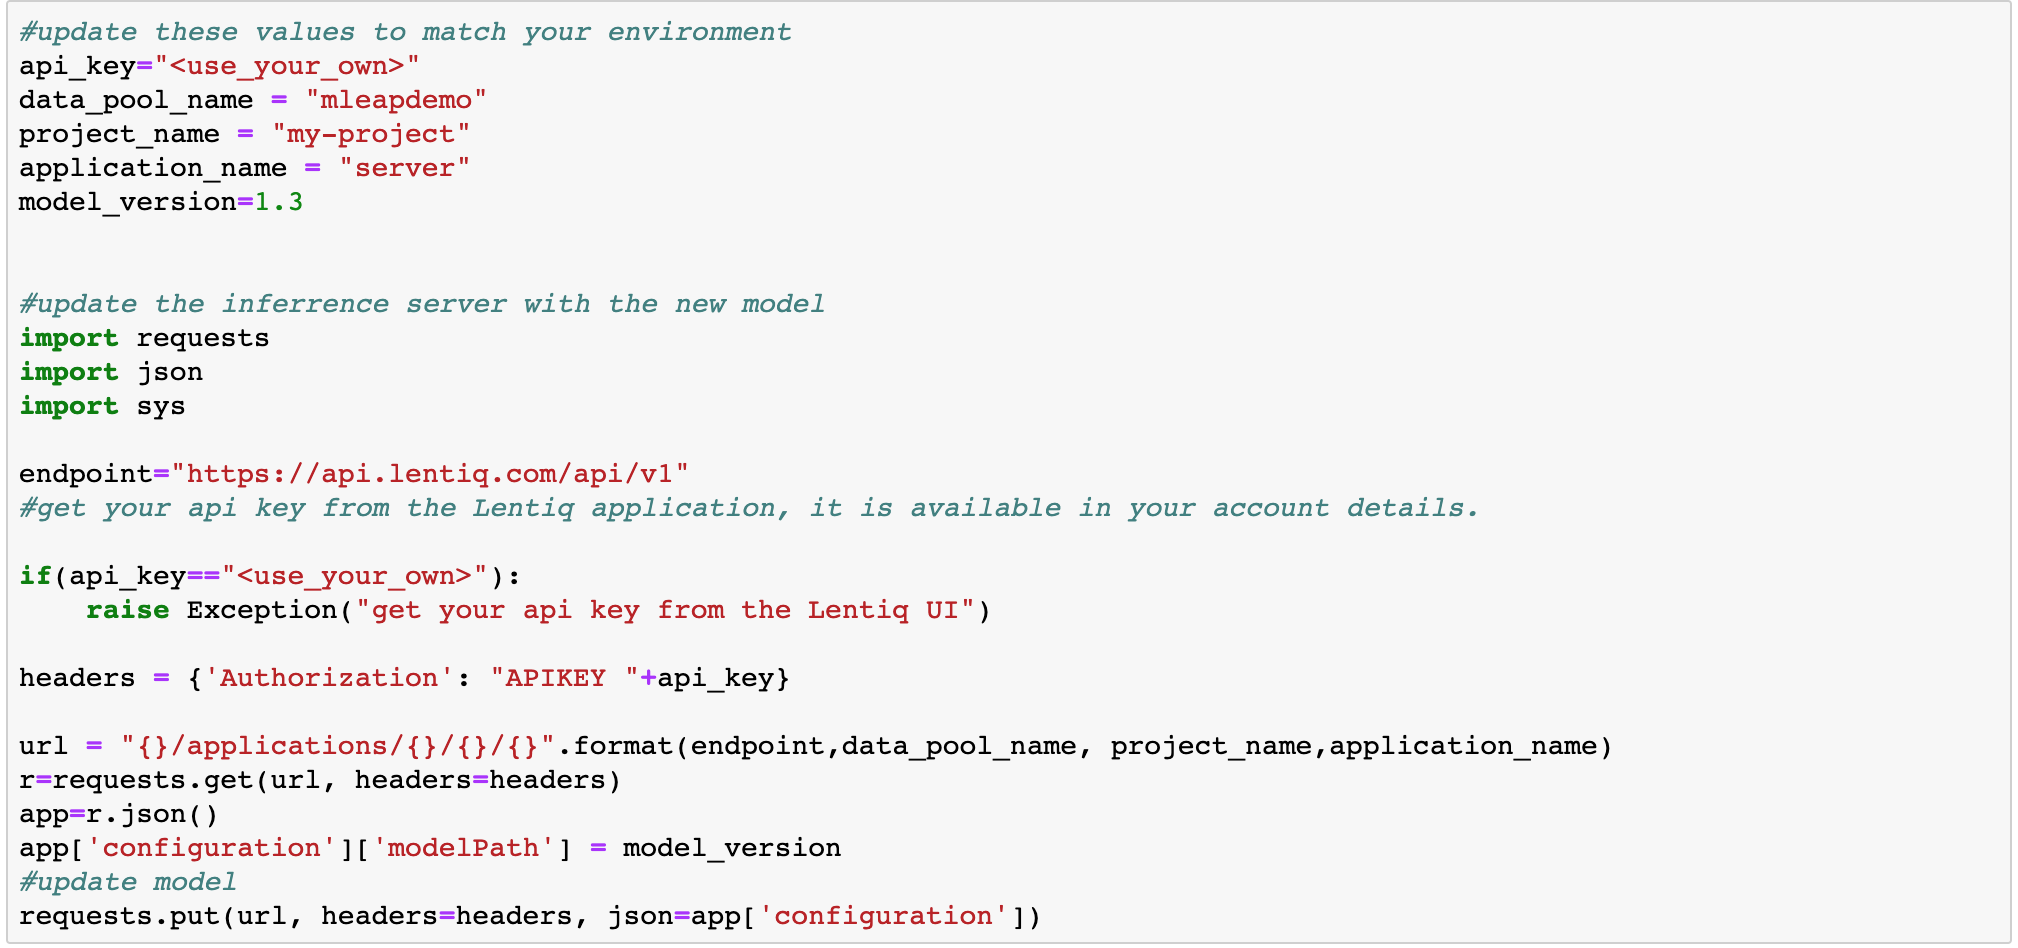
Now let's move to our second notebook where we will update the model using a POST call to the model server. This update is a rolling update meaning that there is no downtime in responding while we update the model.
3. Create a Reusable code Block from the jupyter notebook
At this point we have two notebooks that are ready to be published. A published notebook can be picked from the repository by any of your team members, can be versioned, and finally can be used to create a reusable code block.
You can think of a Reusable Code Block as a template for creating Tasks in the Workflow editor. Behind a Reusable Code Block there is a Docker container that can be either automatically generated by packaging a Notebook and its dependencies or a user's custom Docker image.
Reusable code blocks are shared with the entire data lake and are stored in Lentiq's global registry, meaning that any user with access to it can reuse the code block to perform similar tasks.
There are two possible sources for creating an RCB:
- Custom Docker image. The image needs to be uploaded to a public repository
- A Jupyter Notebook (using Kaniko). You can choose the notebook from a list of available published notebooks, which are shared with all the users with access to the datalake.
Published notebooks can be found in Jupyter under the tab "Curated Notebooks"

Let get back to Lentiq UI to create a RCB. Go to Code Blocks tab, press create, select notebook and the desired notebook, provide environment variables as SPARK_HOME and hit create. Do the same with the second notebook (update model). Now that we have 2 RCBs we can create a Workflow and schedule it.
4. Use the RCBs to create a Workflow
Workflow is a tool designed to automate, schedule, and share machine learning pipelines. Workflows are graphs of instances of RCBs that can be scheduled to be executed at a certain date and repeated with a certain periodicity. Tasks can have as dependencies other tasks. Let's create a workflow: go to Workflow tab, select Create, Add Task and select the "train_RCB". Specify the desired number of CPU and Memory to be used.
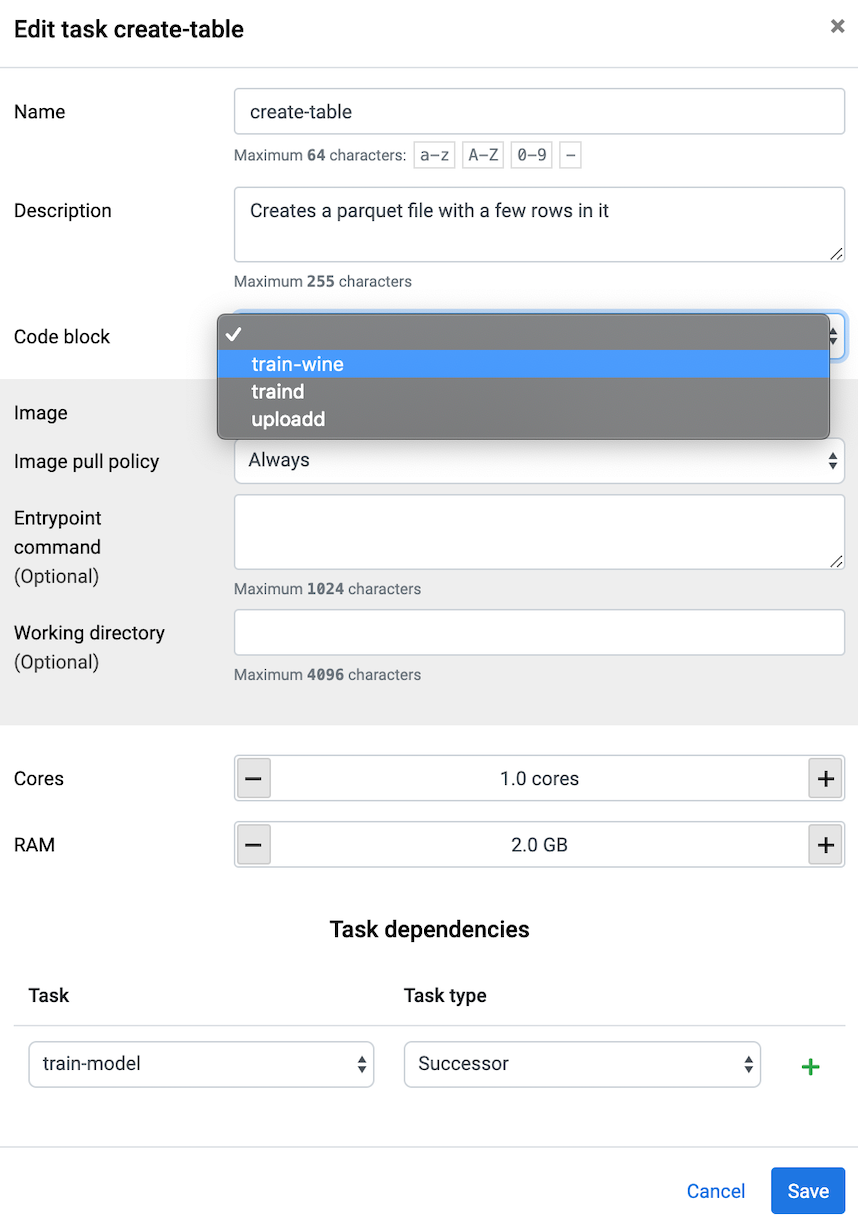
Repeat the steps with the upload RCB and select train RCB as dependency:

5. Serve predictions using Lentiq Model Server
Our last step here is to create and configure a Model server to load our linear regression model. Simply add a model server from the application list and select the number of instances desired. This service can be horizontally scaled to an unlimited number of "inference" instances. As the model server boots, the model specified in the params is pre-loaded and the /transform endpoint will be available.
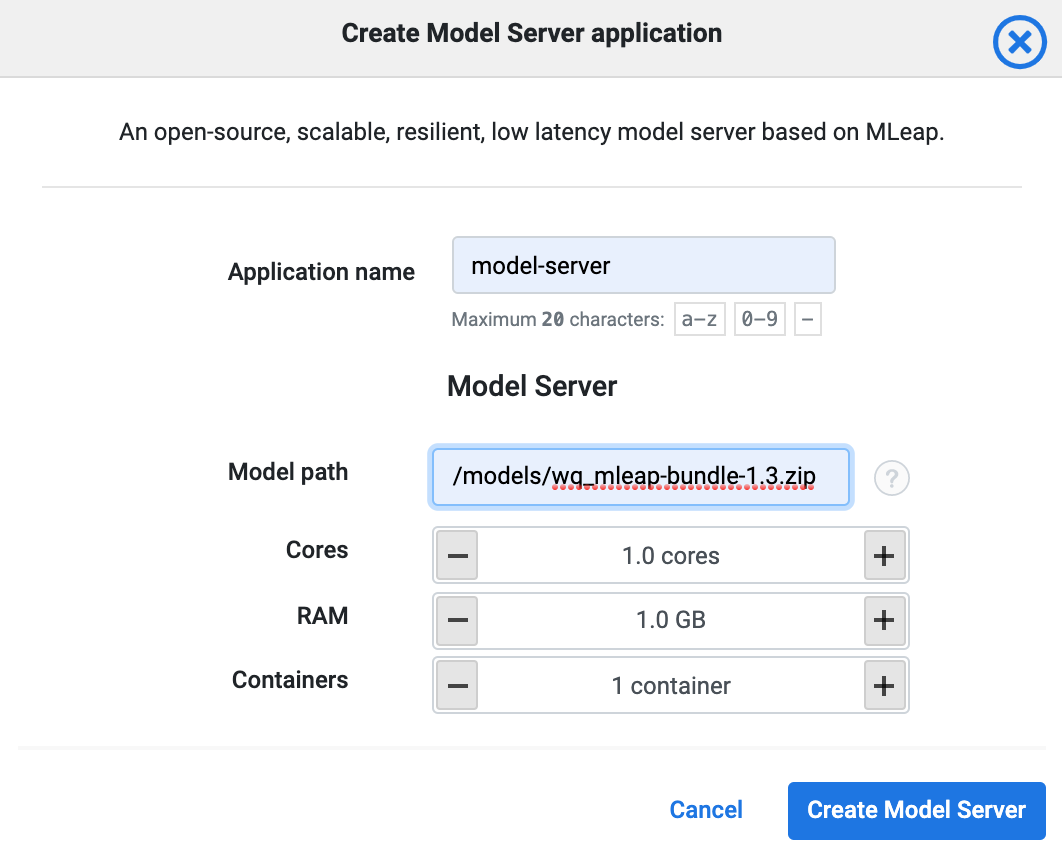
We can now use the available Transform endpoint URL to call predictions. One simple way to test it is from your own terminal with the following call:
curl -XPOST -H "accept: application/json" -H "content-type: application/json" -d @test.json 34.67.32.173:65327/transform
test.json file should contain sample data in the following format:
"schema": {
    "fields": [{
        "name": "fixed acidity",
        "type": "double"
    }, {
        "name": "volatile acidity",
        "type": "double"
    }, {
        "name": "citric acid",
        "type": "double"
    }, {
        "name": "residual sugar",
        "type": "double"
    }, {
        "name": "chlorides",
        "type": "double"
    }, {
        "name": "free sulfur dioxide",
        "type": "double"
    }, {
        "name": "total sulfur dioxide",
        "type": "double"
    }, {
        "name": "density",
        "type": "double"
    }, {
        "name": "pH",
        "type": "double"
    }, {
        "name": "sulphates",
        "type": "double"
    }, {
        "name": "alcohol",
        "type": "double"
    }]
}, "rows": [
    [6.8, 0.21, 0.37, 7.0, 0.038, 27.0, 107.0, 0.99206, 2.98, 0.82, 11.5],
    [6.4, 0.26, 0.21, 7.1, 0.04, 35.0, 162.0, 0.9956, 3.39, 0.58, 9.9],
    [5.5, 0.16, 0.26, 1.5, 0.032, 35.0, 100.0, 0.9907600000000001, 3.43, 0.77, 12.0],
    [5.5, 0.31, 0.29, 3.0, 0.027000000000000003, 16.0, 102.0, 0.99067, 3.23, 0.56, 11.2],
    [6.0, 0.28, 0.24, 17.8, 0.047, 42.0, 111.0, 0.9989600000000001, 3.1, 0.45, 8.9],
    [6.2, 0.66, 0.48, 1.2, 0.028999999999999998, 29.0, 75.0, 0.9892, 3.33, 0.39, 12.8],
    [8.3, 0.27, 0.39, 2.4, 0.057999999999999996, 16.0, 107.0, 0.9955, 3.28, 0.59, 10.3],
    [7.7, 0.32, 0.61, 11.8, 0.040999999999999995, 66.0, 188.0, 0.9979399999999999, 3.0, 0.54, 9.3],
    [6.9, 0.37, 0.23, 9.5, 0.057, 54.0, 166.0, 0.9956799999999999, 3.23, 0.42, 10.0],
    [7.3, 0.28, 0.54, 12.9, 0.049, 62.0, 162.5, 0.9984, 3.06, 0.45, 9.1]
]
}
The response will contain the quality prediction for each set of values specified. See example: 5.985377720093148, [6.4, 0.26, 0.21, 7.1, 0.04, 35.0, 162.0, 0.9956, 3.39, 0.58, 9.9]
Now we have a working machine learning workflow, from getting the data, training a model, save and update the model server and finally infering predictions from the terminal. Our last step in this tutorial will be the sample web app that will integrate the predictions and made them available to end users.
6. Use the sample application created in Flask to call predictions
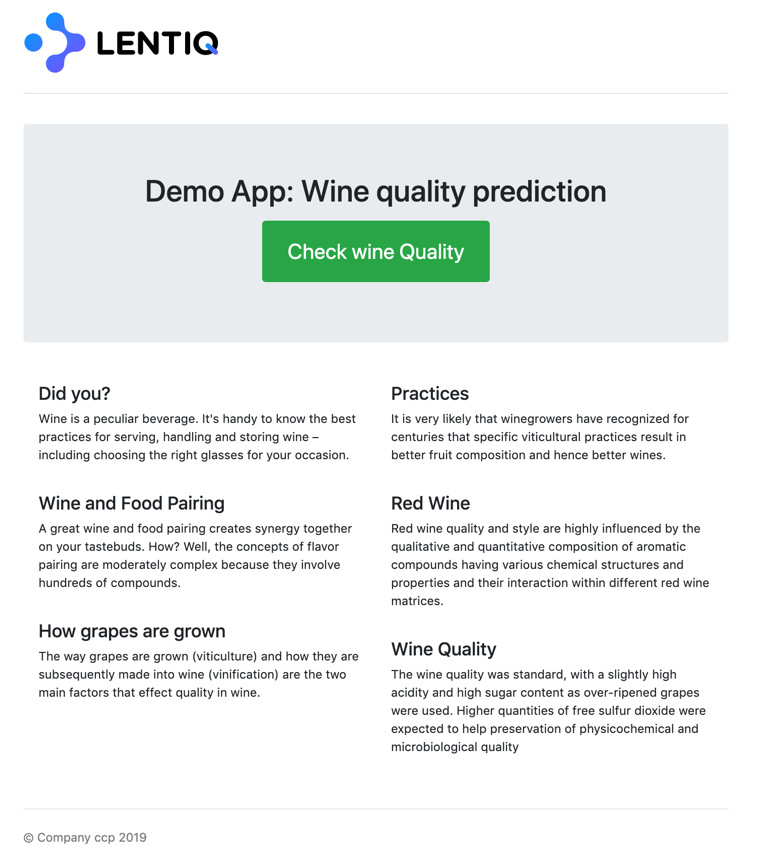
This is a very easy to create web app using python and flask. We will deploy it on Google AppEngine. The app is available on github here: (https://github.com/ccpintoiu/wine-quality-prediction/tree/master/gcp_app_engine)
The main file (main.py) contains the logic of the application. Here we retrive only 4 variables from the user and compose a JSON message that will be send to the Model server. The response is shown in the interface. I encourage you to add the rest of the features in the input UI, it can be a good exercise.
- 2019 Lentiq
