Managing compute resources
Managing the resources associated to data pools and projects are a fundamental task that happens many times in the beginning of a project or during it as your data and your team's needs grow.

Resources are provisioned (nodes are deployed) on a data pool, allocated to projects and then consumed by applications and workflow tasks.
Increasing data pool resources
The compute resources, the nodes provisioned for the underlying Kubernetes cluster are provisioned at the data pool level. These resources are further allocated to projects. This will change in the future with autoscaling.
To add more resources to the cluster, add additional nodes in the data pool:
- Select the desired data pool that you can manage (are a Manager or an Owner) from the Data Pool dropdown at the bottom of the UI.
- Click on the Data Pool settings button from the bottom of the page.
- Increase the node count.
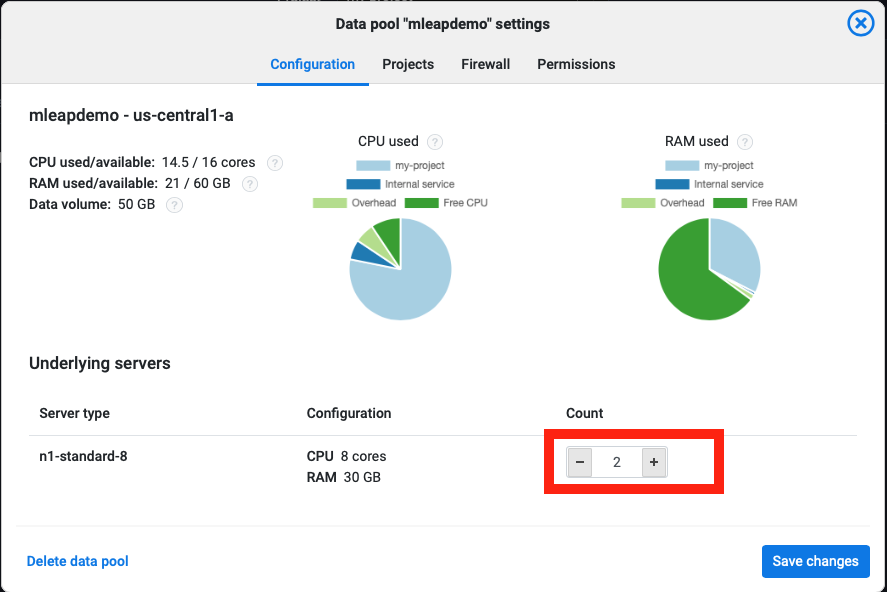
Increasing the data pool's available resources by adding nodes does not immediately increase the resources allocated to projects or to applications. You need to allocate the newly available space manually.
Note: You cannot change then node type after the initial deployment of a data pool so, before creating a data pool think about the proper CPU-to-RAM ratio that you will most likely need. A good ratio is 1 core for every 4 GB or RAM.
Allocating resources to projects
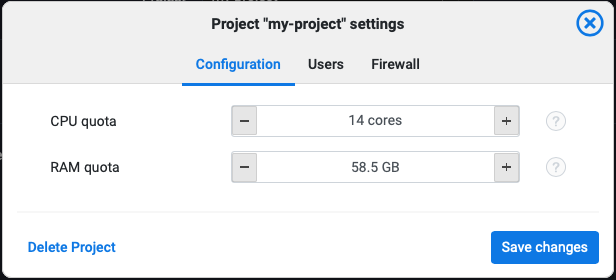
From the total pool of resources that a data pool has, a certain portion is allocated to a project. To allocate more resources:
- Select the project you want to increase resources for from the dropdown of the top of the UI.
- Click on the
Project settingsbutton from the top of the UI. - Increase the resources by clicking on the "+" sign for both RAM and CPU.
Note: Workflows consume resources from the project so make sure to have enough free resources at all times to allow the workflows to execute. This will change in the future with autoscaling.
Allocating resources to applications or workflow tasks.
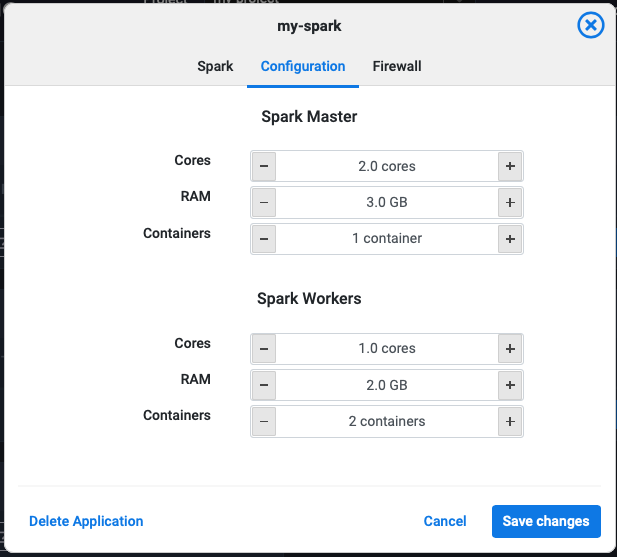
Allocating resources from the project the applications is done through the configuration tab of each application by clicking the Edit button for each application in the Applications view.
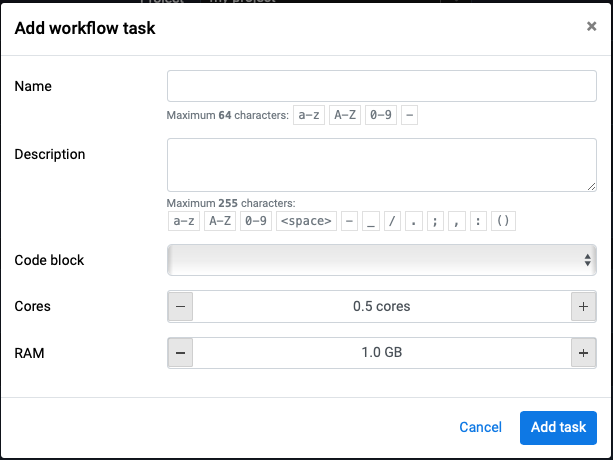
Tasks have an equivalent control to allocate resources. Note that these resources need to be available in the project at the time of the execution otherwise the task will wait in the PENDING state until resources are available.
For more details on working with applications and workflows follow: